


导入
调整:自动滚动到底部
这更多关注的是 React DOM 而非 Redux。我们需要为 Chat DOM 创建一个 ref,并为两个生命周期实例添加操作:componentDidMount() 和 componentDidUpdate()。
让我们确保聊天窗口在更新时自动滚动到底部。
为此,我们需要进行一些 DOM 操作。这也是我坚持将 <Chats /> 写成类组件的原因。
好了,来看代码。
首先,我们需要创建一个 Ref 来引用 Chats 的 DOM 节点。
1constructor(props) {
2  super(props);
3  this.chatsRef = React.createRef();
4}
如果你对 React.createRef() 不熟悉,这很正常,因为 React 16 引入了 创建 Refs 的新方式。
我们通过 this.chatsRef 保存对该 Ref 的引用。
在渲染的 DOM 中,我们这样设置 ref:
1<div className="Chats" ref={this.chatsRef}>
现在我们就持有了包含所有聊天内容的 div 元素的引用。
接下来,我们要确保每次更新时,该容器始终滚动到底部。
这就需要用到生命周期方法了!
1componentDidMount() {
2  this.scrollToBottom();
3}
4componentDidUpdate() {
5  this.scrollToBottom();
6}
也就是说,组件一挂载完成,我们就调用 scrollToBottom 函数;每当组件更新时,也同样执行一次。
下面是 scrollToBottom 函数的实现:
1scrollToBottom = () => {
2  this.chatsRef.current.scrollTop =
3    this.chatsRef.current.scrollHeight;
4};
我们所做的就是将 scrollTop 属性设置为等于 scrollHeight,从而实现滚动到底部。
并不复杂。其中 this.chatsRef.current 指向对应的 DOM 节点。
以下是当前阶段完整的 Chats.js 代码:
1...
2class Chats extends Component {
3  constructor(props) {
4    super(props);
5    this.chatsRef = React.createRef();
6  }
7  componentDidMount() {
8    this.scrollToBottom();
9  }
10  componentDidUpdate() {
11    this.scrollToBottom();
12  }
13  scrollToBottom = () => {
14    this.chatsRef.current.scrollTop =
15      this.chatsRef.current.scrollHeight;
16  };
17  render() {
18    return (
19      <div className="Chats" ref={this.chatsRef}>
20        {this.props.messages.map(message => (
21          <Chat message={message} key={message.number} />
22        ))}
23      </div> );
24  }
25}
26
27export default Chats;
好了!至此,Skypey 已经可以按预期正常工作了!
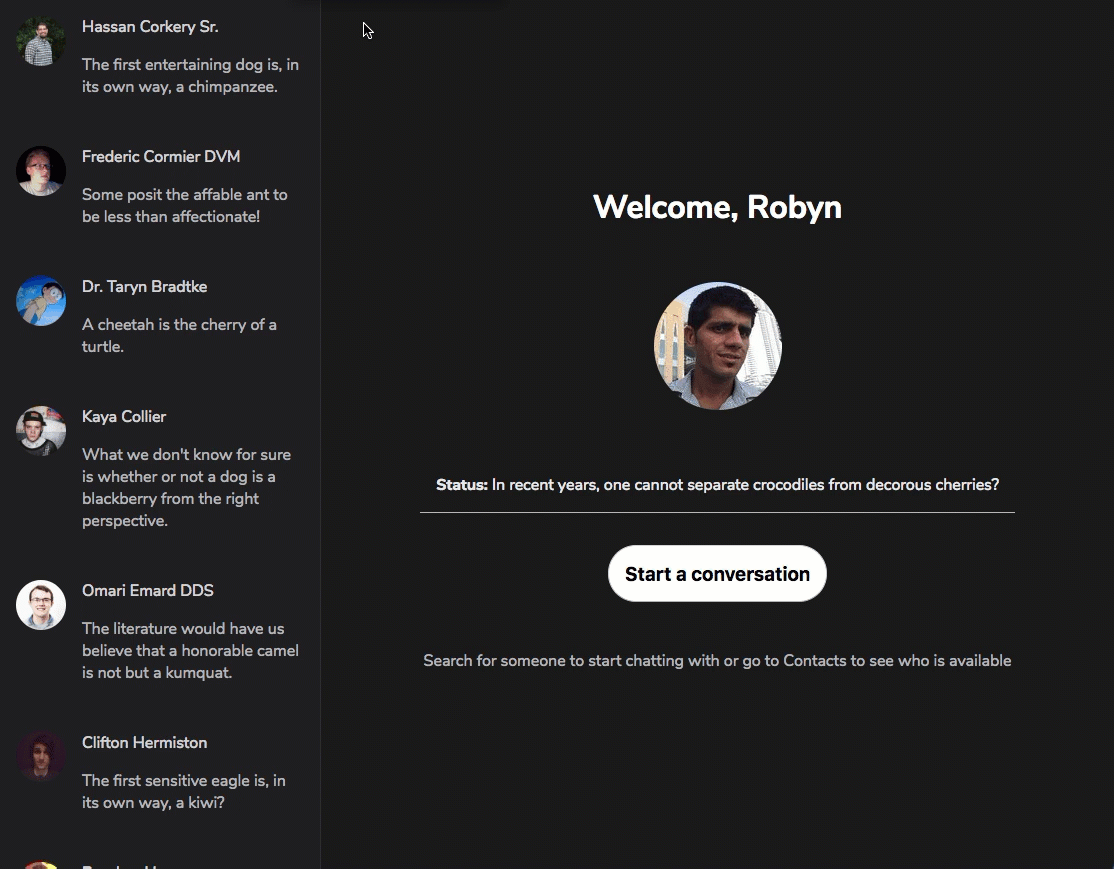
看下面这个演示:
注意当组件挂载完成时,滚动位置会立即调整;每当我们输入消息(即组件更新)时,滚动条也会自动滑到底部。
Skypey-demo-2-1.gif
这标志着本章的结束。
希望你在构建 Skypey 的过程中,和我一样享受其中。
请继续关注后面的练习部分,我们的应用还能实现更多有趣的功能!