


导入
使用激光线进行地形测绘
学习如何使用激光线设置地形采集系统。
...
使用激光线的地形采集系统的物理结构
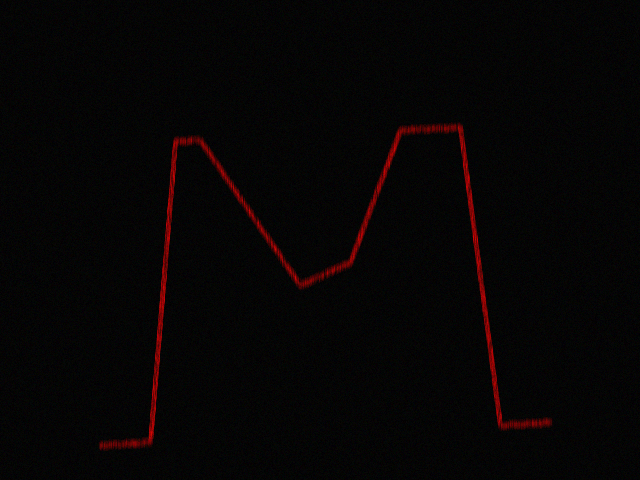
相机拍摄到的激光线照射在物体上的图像
Y = ay + b
1import cv2
2import numpy as np
3import pandas as pd
4import matplotlib.pyplot as plt
5
6slice_img = cv2.imread("./images/topography/simulated_slice.png")
7# 对红色通道进行模糊处理
8blur_size = (5, 5)
9blurred_red_img = cv2.blur(slice_img[:, :, 2], blur_size)
10
11# 打开标定文件,其中包含 x、a、b 三列
12calibration_df = pd.read_csv("./images/topography/calib.csv")
13
14# 对每个 x 坐标,在像素值高于阈值时找出最强响应的 y 值
15heights = []
16minimum_red_value = 10
17for x in range(blurred_red_img.shape[1]):
18    _, max_val, _, max_loc = cv2.minMaxLoc(blurred_red_img[:, x])  # 查看单列像素
19    if max_val >= minimum_red_value:
20        y = max_loc[1]  # (0, y_max)
21        a = calibration_df.loc[calibration_df['x'] == x].iloc[0]['a']
22        b = calibration_df.loc[calibration_df['x'] == x].iloc[0]['b']
23        heights.append(a * y + b)  # Y = a * y + b
24    else:
25        heights.append(-1)  # 使用 -1 标记“未知”
26cv2.imwrite('./output/0_slice.png', slice_img)
27xs = np.arange(0, len(heights))
28fig, ax = plt.subplots()
29ax.scatter(xs, heights, c="blue", marker='.')
30ax.set_xlabel('x')
31ax.set_ylabel('高度 (mm)')
32plt.savefig("./output/1_slice_in_mm.png")
1import cv2
2import images.topography.simulate_slice_image as simulate_slice_image
3import numpy as np
4import pandas as pd
5
6blur_size = (5, 5)
7minimum_red_value = 10
8subsampling = 20
9
10topography_img = np.zeros((640//subsampling, 640//subsampling), dtype=float)
11for z in range(0, 640, subsampling):
12  slice_img = get_image(z)  # 从一个黑箱采集系统获取切片图像
13  blurred_red_img = cv2.blur(slice_img[:, :, 2], blur_size)
14  heights = np.zeros((640//subsampling), dtype=float)
15  for x in range(0, blurred_red_img.shape[1], subsampling):
16    _, max_val, _, max_loc = cv2.minMaxLoc(blurred_red_img[:, x])  # 查看单列像素
17    if max_val >= minimum_red_value:
18        y_max = max_loc[1]  # (0, y_max)
19        a = calibration_df.loc[calibration_df['x'] == x].iloc[0]['a']
20        b = calibration_df.loc[calibration_df['x'] == x].iloc[0]['b']
21        heights[x//subsampling] = a * y_max + b  # Y = a * y + b
22    else:
23        heights[x//subsampling] = -1.0  # 使用 -1.0 标记“未知”
24  topography_img[z//subsampling, :] = heights
25# 调整图像大小
26topography_img = cv2.resize(topography_img, dsize=(640, 640))
27cv2.imwrite("./output/topography.png", topography_img)